
1Tethering Shooting
Best for: Studio-based fashion photography where real-time adjustments are needed.
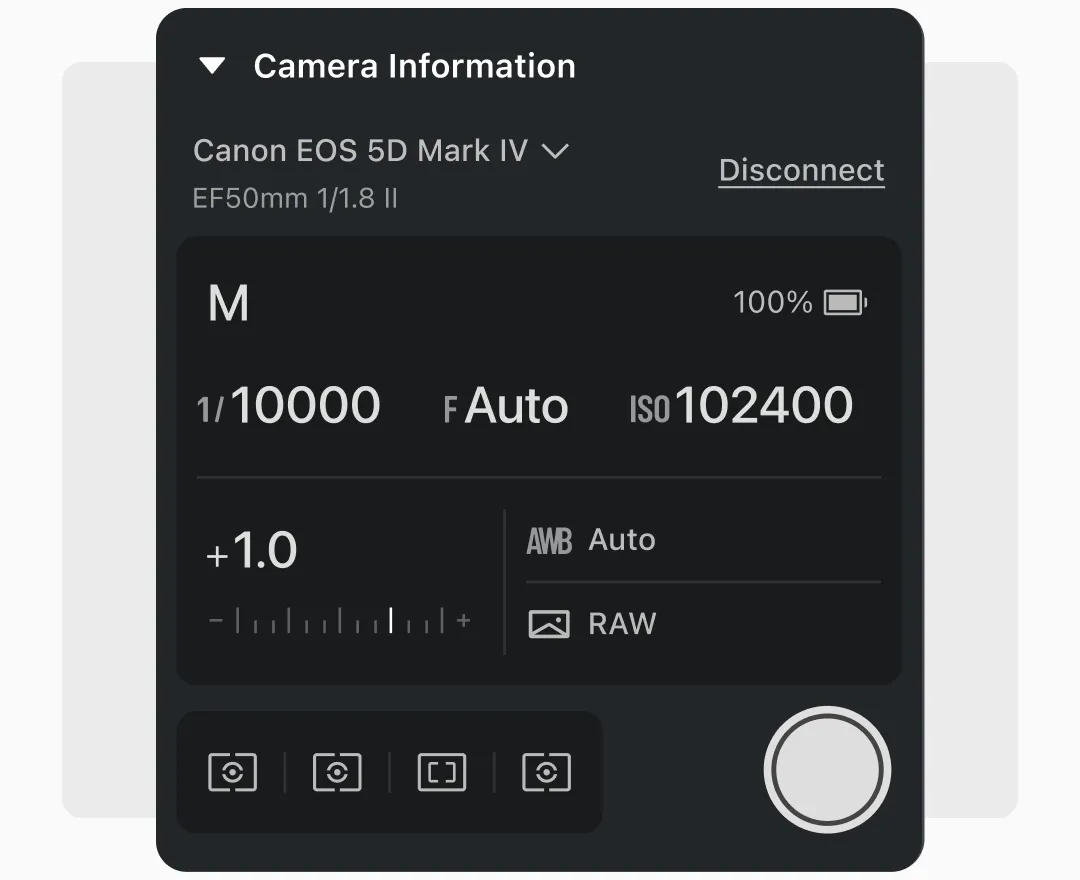
· Connect your camera to Evoto via the “Tethering” panel.
· Open the “Tethering” panel and ensure your camera has been detected.
· Ensure camera settings (aperture, shutter speed, and ISO) are displayed in Evoto.
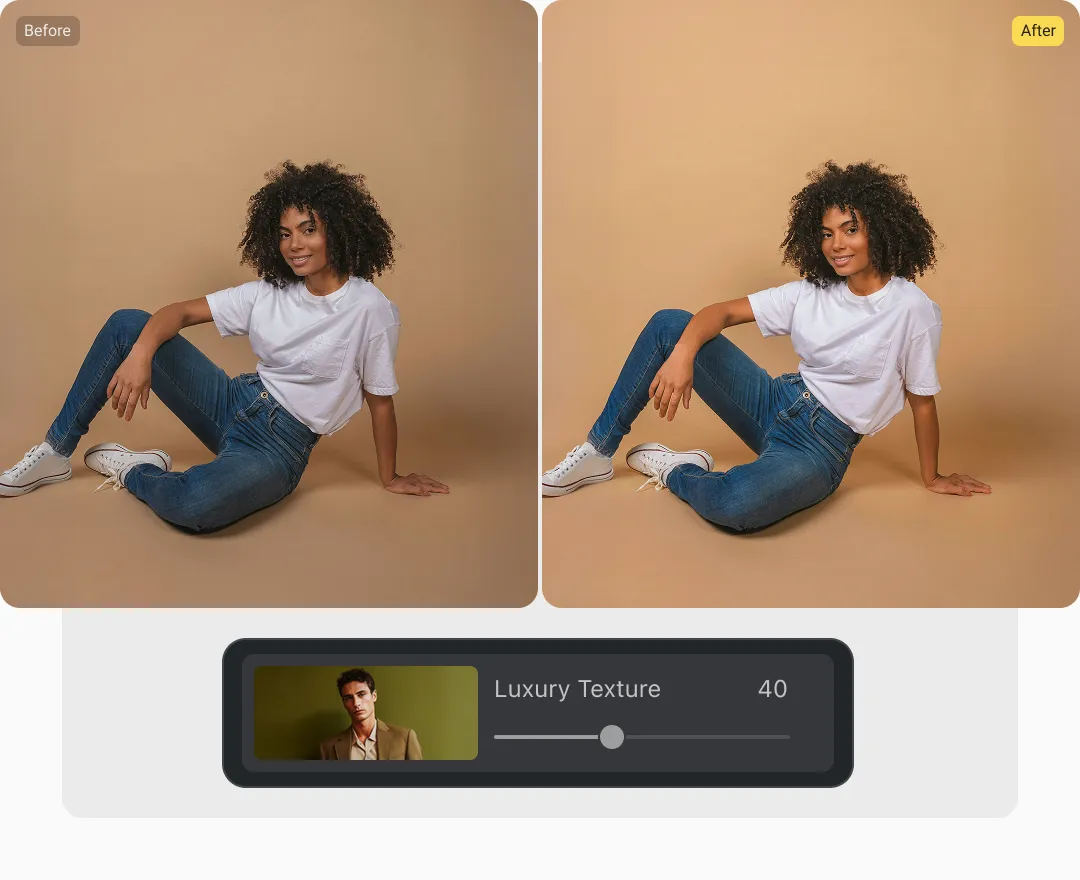
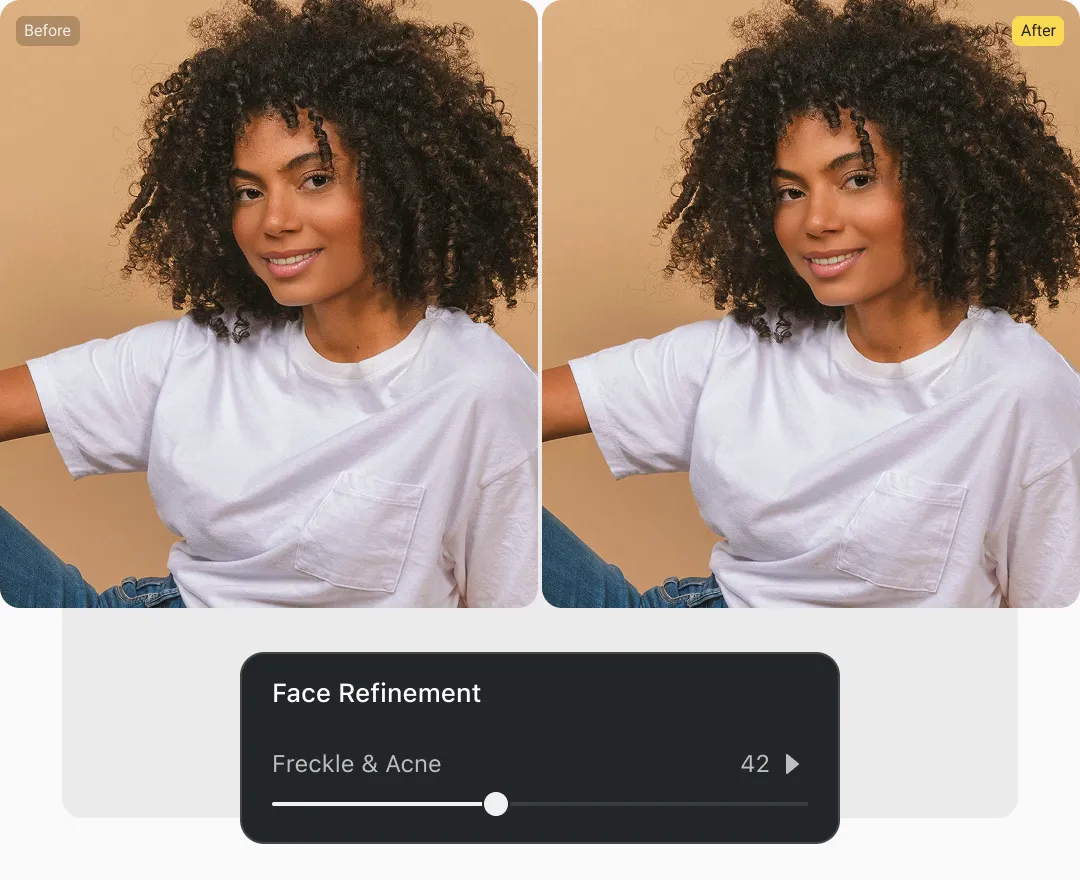
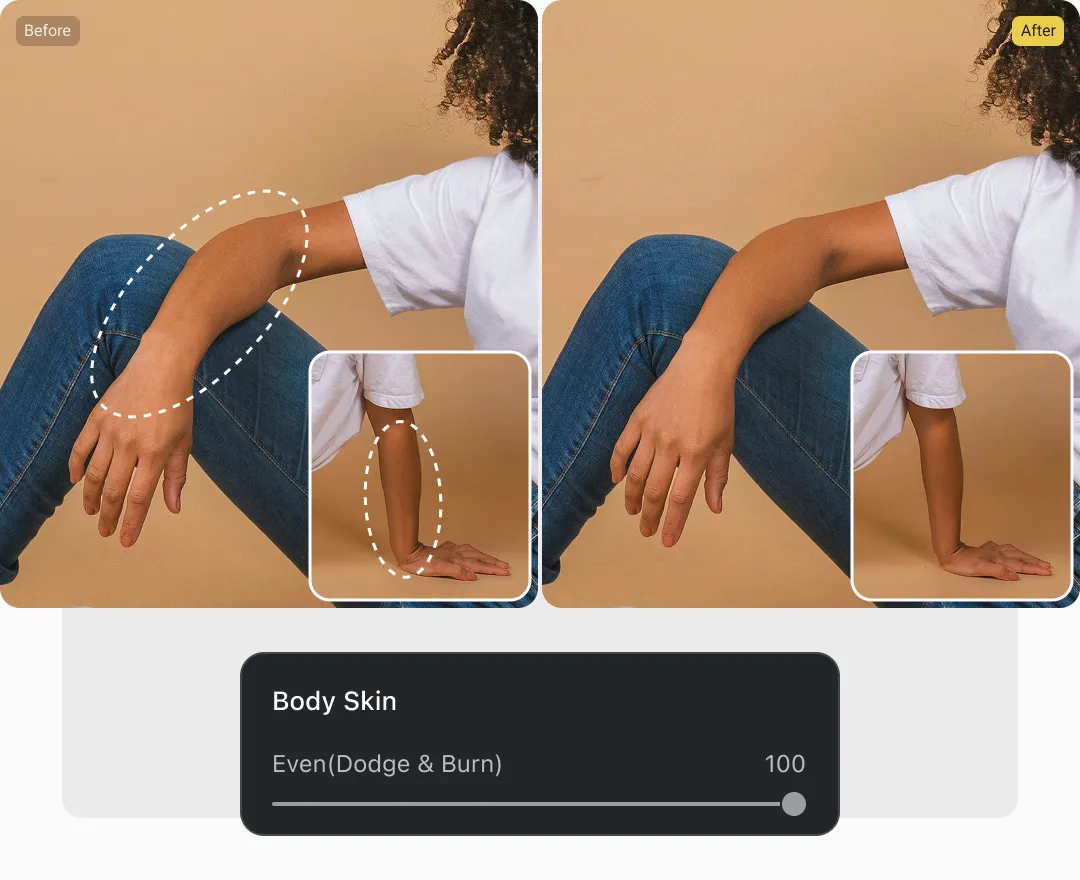
· Apply a preset in Evoto or use one of your own; it will update in real time.
· Use “Compare View” to display the Raw vs edited images instantly side-by-side.
· Use tethering for corporate shoots where clients require instant reviews.